How do I perform a smart-search or zone search on the DVR/NVR from the HDMI monitor?
Text guide:
Step 1:
By default your monitor should show up to 16 of your available cameras, in order to navigate to the settings, you can right click anywhere on the screen from here.
Right clicking anywhere on the screen will create a menu where you right click. For the purposes of this guide, click on “Search”
step 2:
Upon clicking on the “Search” option you will be prompted to enter passcode before you continue, this will be the passcode you set up when you had your system installed.
step 3:
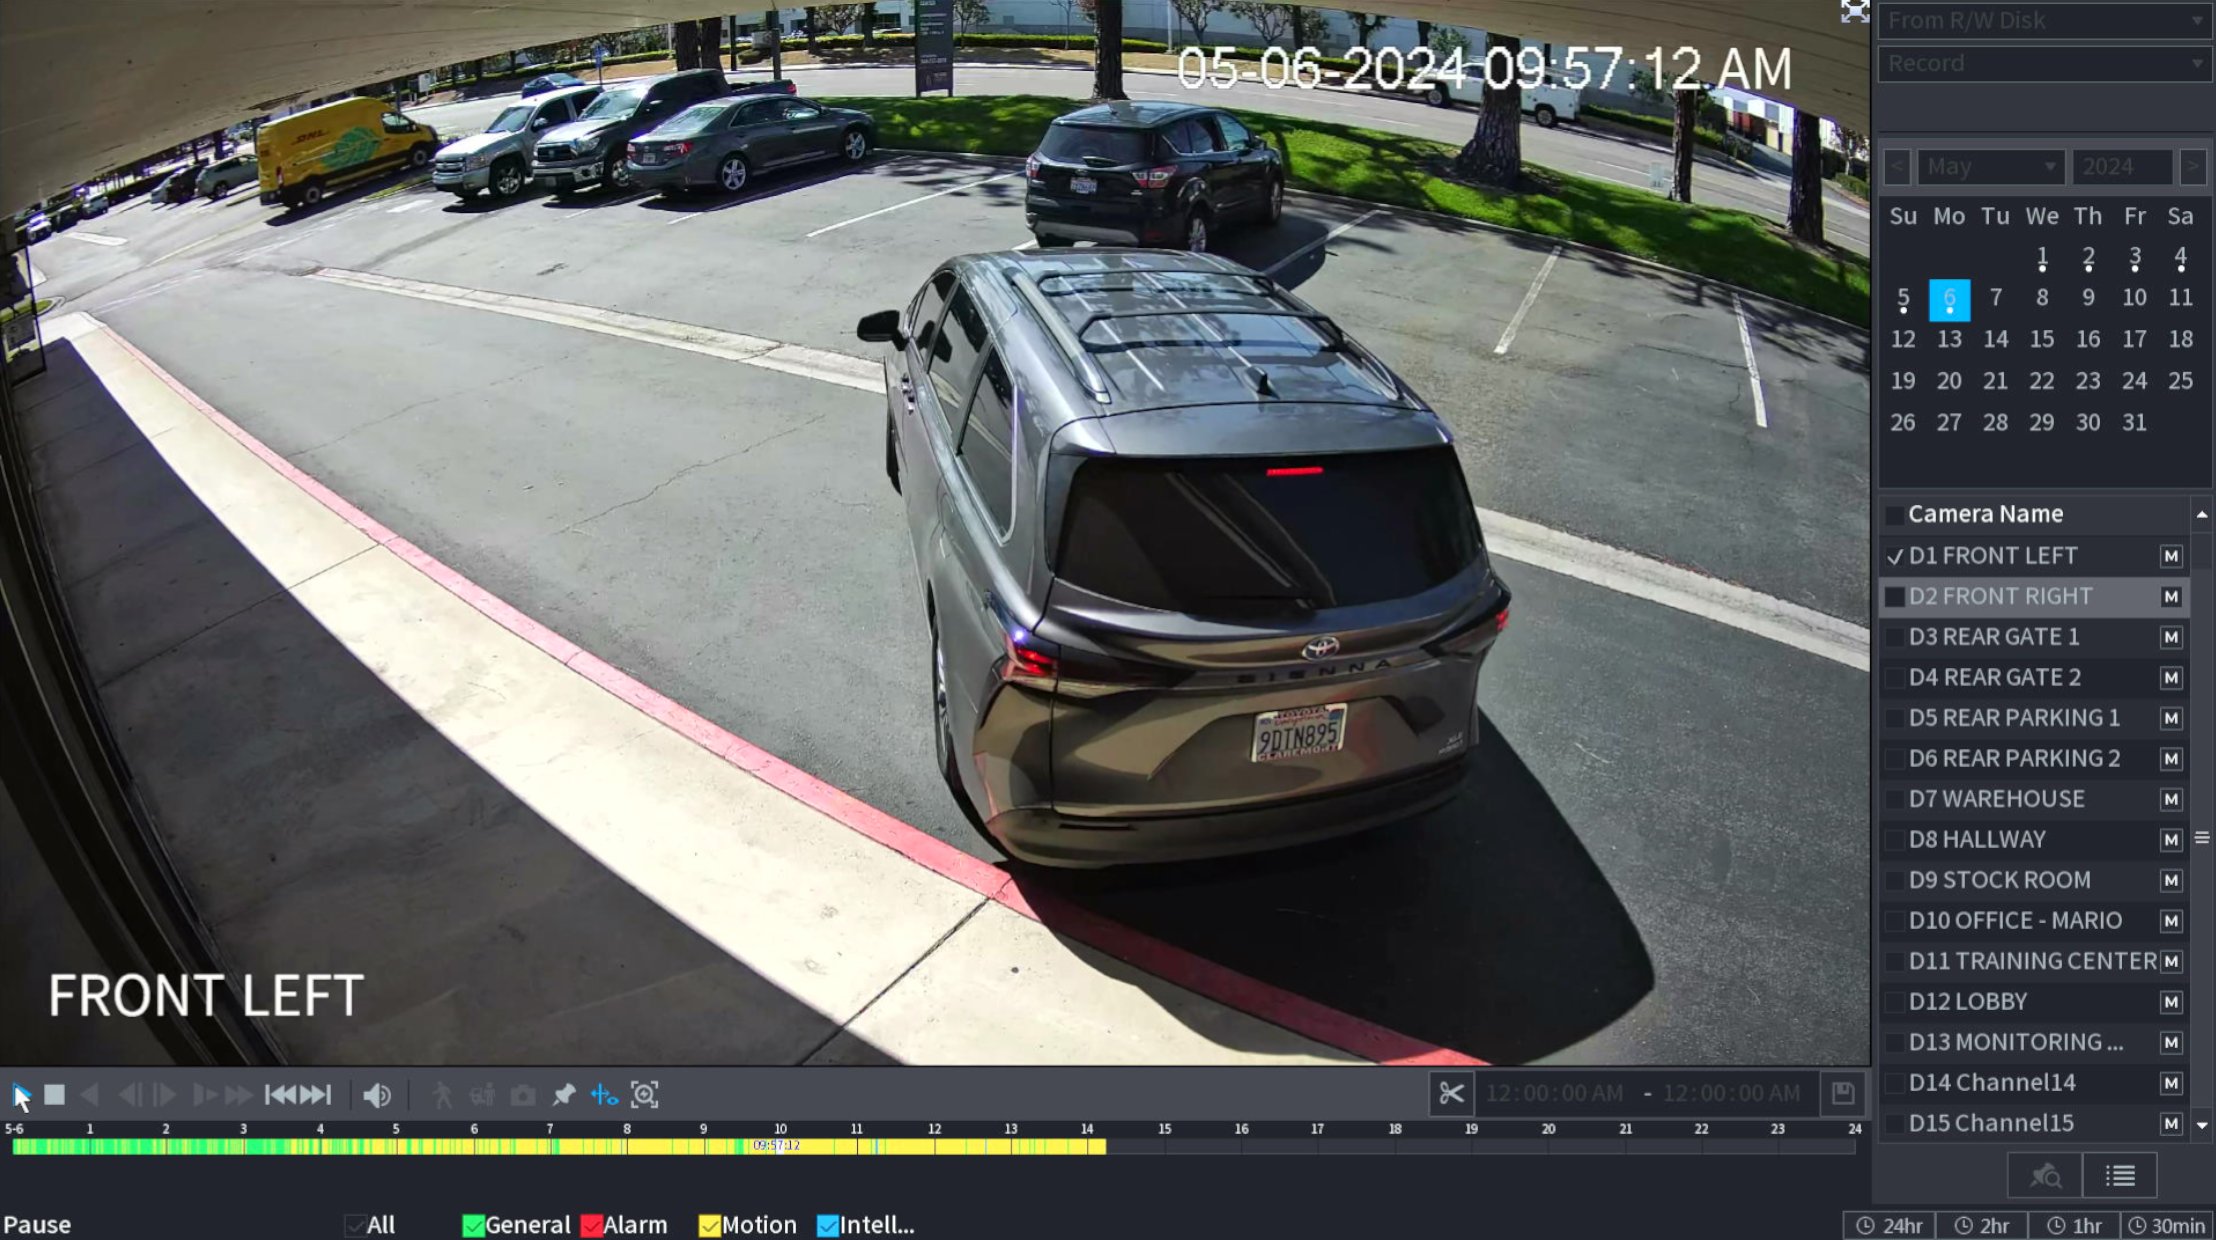
After inputting your password your screen should look like this, this is the “Search Page”
A few things to take note of on the Search Page.
First is in the top right, this calendar will show you what date you are reviewing footage from, you can change month and year at the top, and you can see what day of the month you have selected indicated by the date highlighted blue.
Next, right below the calendar shows your currently selected cameras. By default you will have 4 cameras selected, while playback with multiple cameras is possible, smart search is only possible with a single camera selected.
Now in the bottom left is the play button. This will be essential for searching our footage, clicking it will start the playback for all currently selected cameras.
step 3:
Now that we have our camera selected, start by hitting the play button, this will give you the footage of the selected day and camera starting at 12:00am, as well as allowing a few more options for you to select.
Step 4:
Our next step is to actually begin the search, start by clicking on the symbol of a walking man at the bottom of the screen, this will take us to start of the search, the grid screen.
Once you click on the symbol, a grid line will appear over the footage, this will allow you to “draw” on the screen using these boxes. Pressing and holding left-click over an empty square will color it blue, adding that region to the search. Tapping and holding left-click on an already selected blue square will deselect any squares already selected.
This process can be a little finicky at first so take some time to play around with it, if you wish to reset the grid, all you have to do is press right-click and select the search button again.
step 5:
Once you have your region selected, the last thing you need to do to start the smart search is to click on the walking man symbol one more time. The screen may freeze for a little bit as it loads up the footage.
The footage will now show all the footage when there was movement in the selected zones. This will be much less focused on what is moving and will show you times when there is any movement at all in the selected areas.
step 6:
Finally we will go over how to search your footage for specific kinds of movement (Either human movement or vehicle movement)
For this step you will want to make sure that you are watching from the beginning of the playback timeline, in order to do this, you can simply click on the square at the bottom of the left, this will stop the current playback and start at the beginning of the timeline.
step 6:
Now that the playback is stopped and we are at the beginning of the timeline, a new symbol will be selectable at the bottom of the page, the symbol looks like a car and a man standing in front of it.
Clicking on that will offer us two more options, “Human” and “Motor”
Clicking either “Human” or “Motor” will start the smart search for either.
“Human” will show you all of the times the camera detected human movement. hitting play will automatically skip to moments of human detection. You can also see on the timeline all the moments human motion was detected, indicated by the blue markings on the timeline.
“Motor” works similarly to human motion detection but will look out for motor vehicle movement instead of human. this will also show you on the timeline where moments of movement were detected.


